Tasty Lava Cakes: All About That Base
By Jeff Campbell-Crawley

As a miniature war gamer, it’s all about getting that painted army on the table. I spend a lot of time and effort trying to get my armies looking as good as possible to a point of diminishing returns. There’s nothing quite like a war game with two well painted armies facing off against each other.
One way to really grab people’s attention is to have awesome thematic bases. Resin or 3D printed bases are a great way to bring a thematic flare to your army. For this project, hot lava is the theme and I really wanted to bases to feel hot and dangerous, like Frodo fighting with Gollum in Mount Doom.
Here is a great, and easy way to really make your lava bases pop. This entire tutorial was done with 90% airbrush. I used a Harder & Steenbeck Infinity with a .02 size needle .
STEP 1:
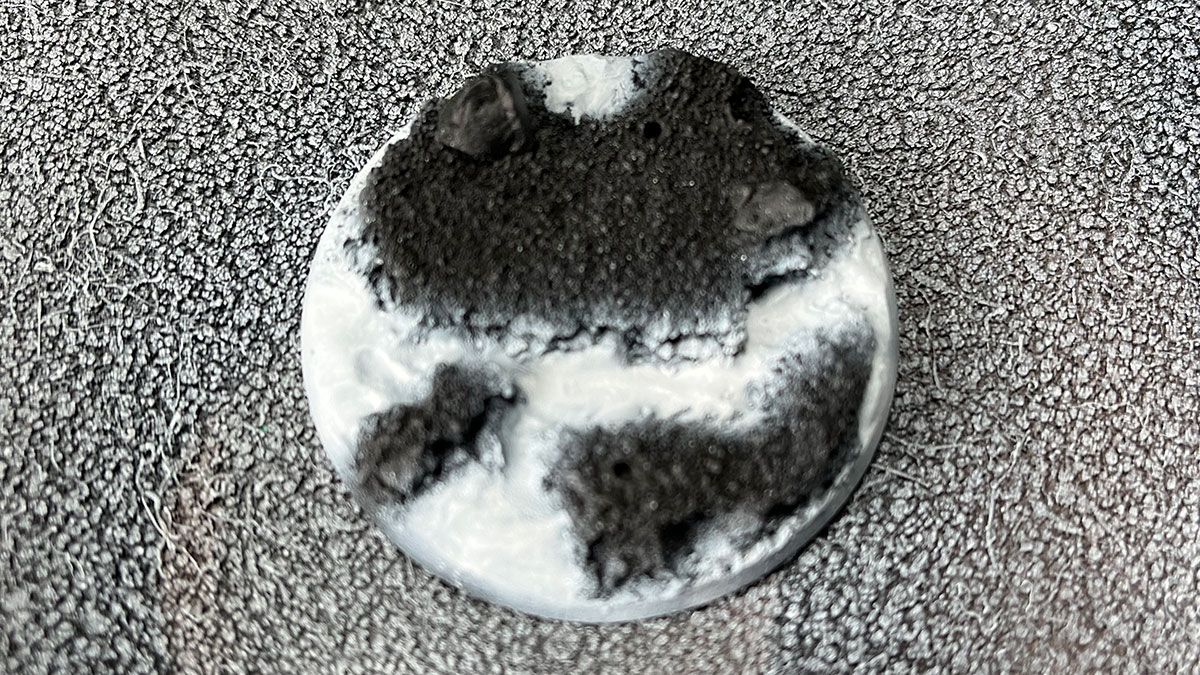
After priming the base black, apply white over the lava area, for this project (and almost any white paint I use with an airbrush) I used Vallejo White Artist Ink. Try to keep the white contained to the lava area as much as possible, but you don’t need to go to drastic measures.
STEP 2:
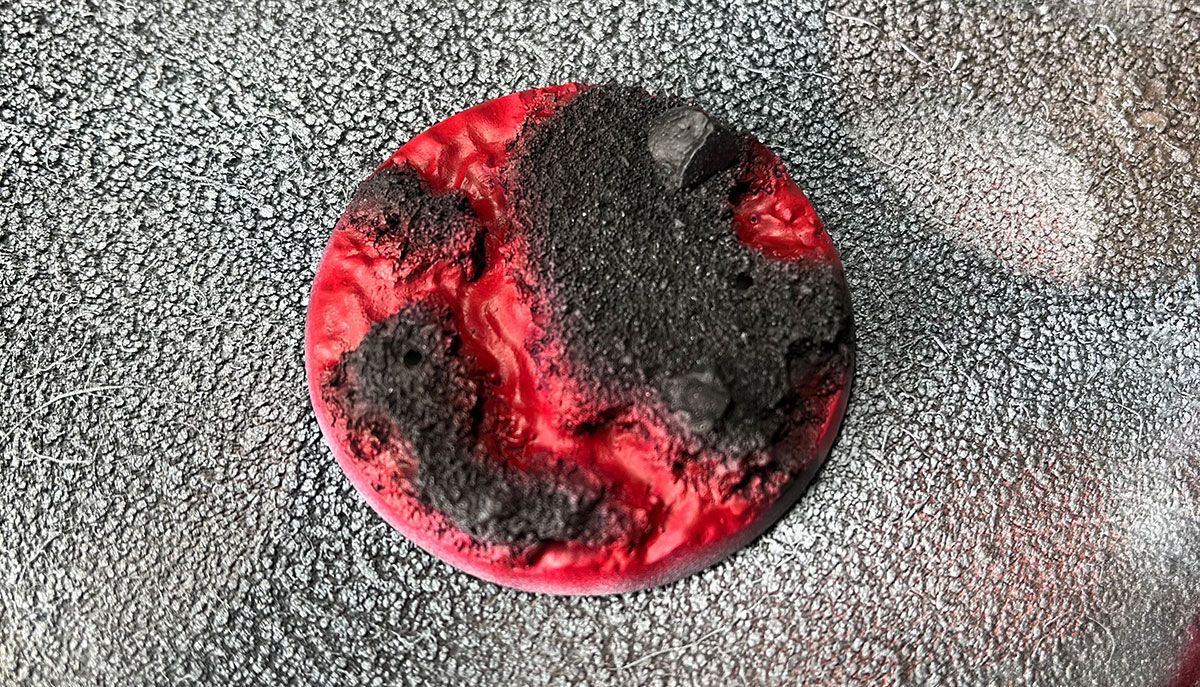
Grab a deep red and cover all your white you put down in step 1. I used Vallejo Air Gory Red, but grab any red that’s not too bright.
STEP 3:
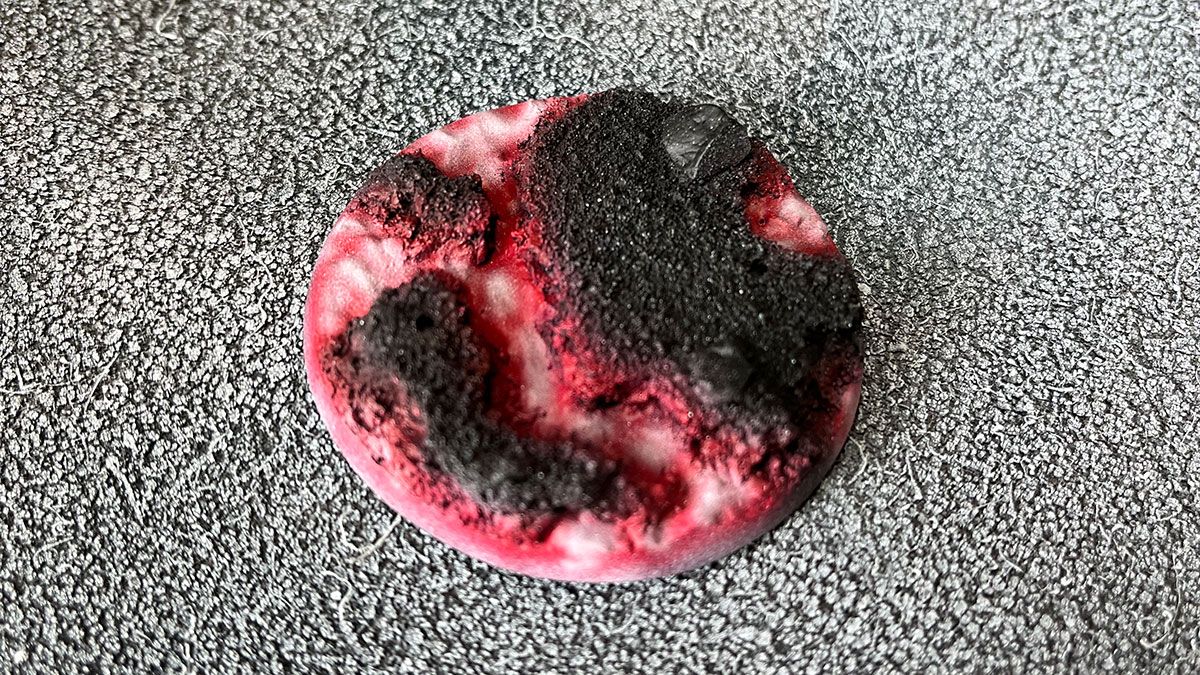
Here’s where you need to display some airbrush control. It’s time to start adding some extra heat to the lava. Use the white you used in step 1, and strategically hit about 50% of the red with white, focusing more on the middle areas of the lava, away from the rocky edges.
STEP 4:
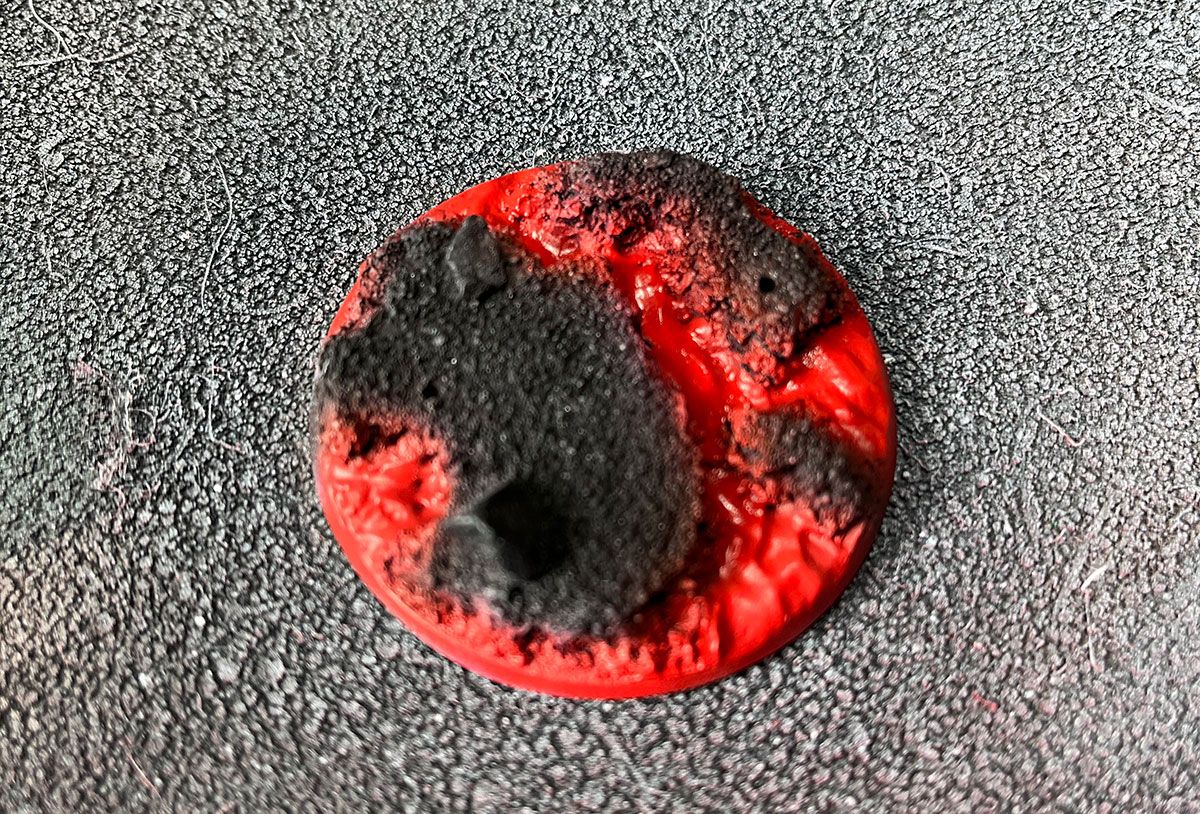
Find a brighter red paint, here I used Vallejo Air Blood Red. Paint over all the red and white areas. Red is translucent paint, so the darker red areas will stay pretty dark, it’ll just now have an brighter tint to it, while the white areas should now be very red.
STEP 5:
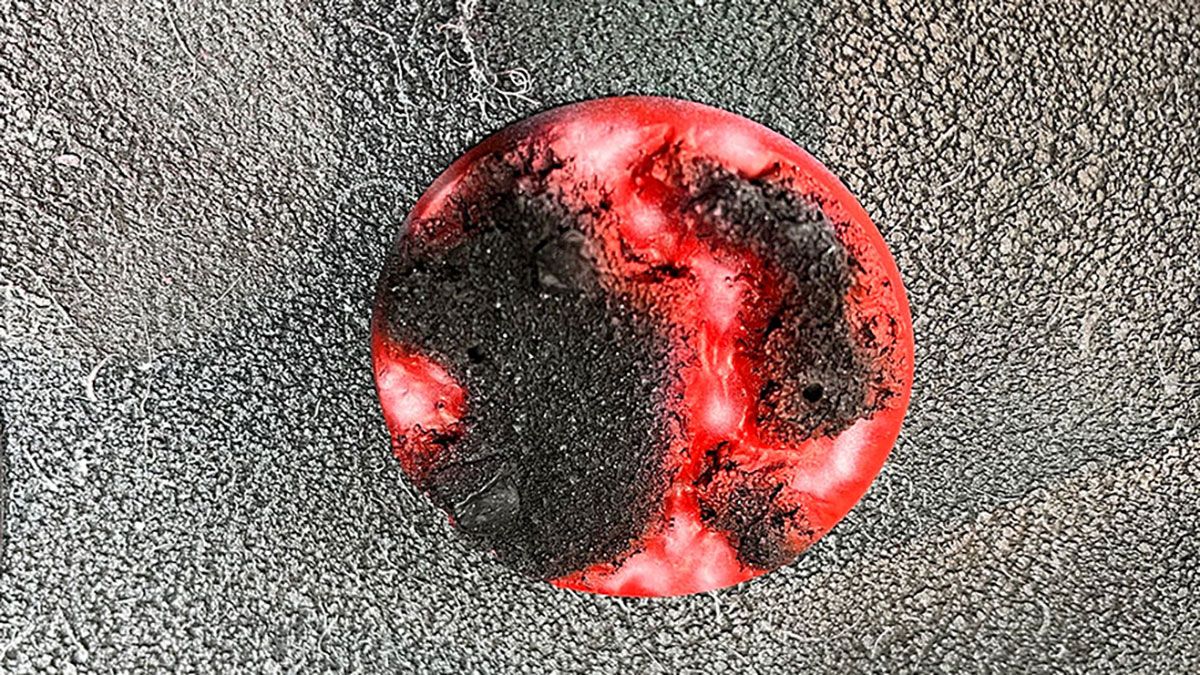
Load your white back up in the airbrush and now repeat step 3, instead now, you’re looking to cover about 50% of the bright red area (leave the dark red area alone).
STEP 6:

Find a good orange paint that leans more red than yellow. Here I used Vallejo Air Hot Orange. Orange tends to be very translucent. Paint the orange over the entire lava area. The red areas will remain pretty red, but with an orange tint.
STEP 7:

Time to load that white one last time. This time you’re only going to focus on very small areas, where the lava is the hottest.
STEP 8:

To really bring the heat and tie all the colors together, we’re going to shoot a yellow filter over the entire lava area. For this step, I used Badger Ghost Tint Yellow, it’s basically an ink. Airbrush the ink over all the lava. The white-hot points should now look bright yellow and painting the rest of the lava with the yellow will draw all of the colors together and give a very smooth transition.
STEP 9: FINAL STEP
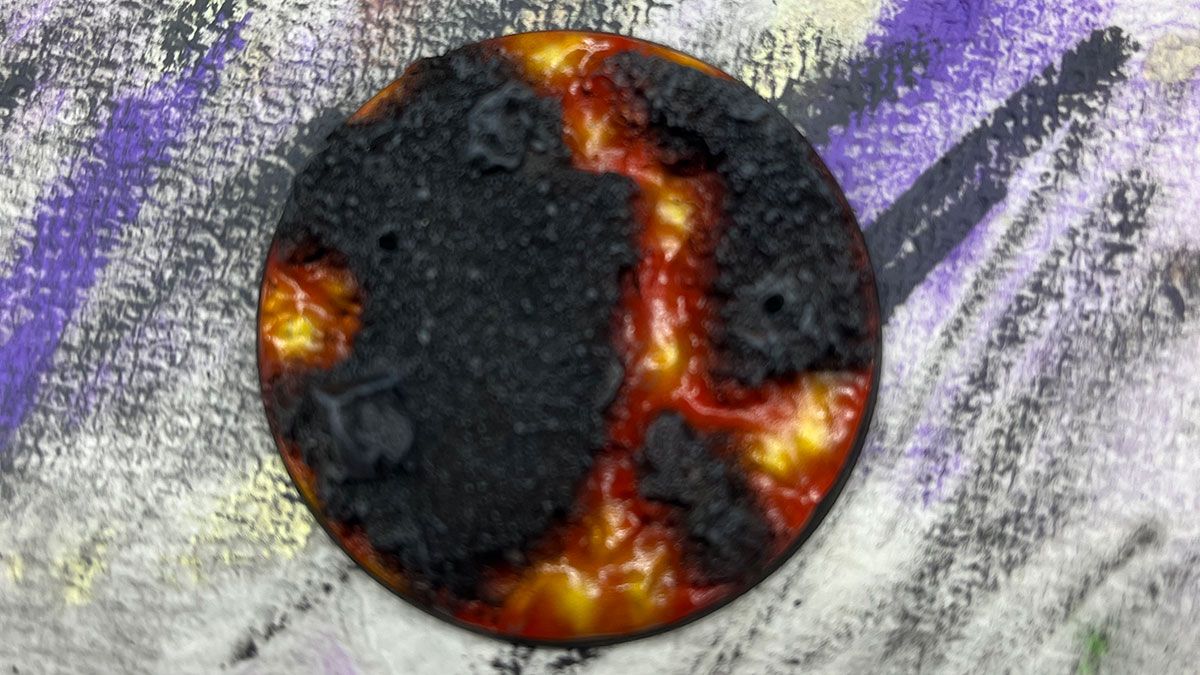
Now that the lava is looking hot and dangerous, it’s time to bring the rest of the base home. Put some black in your airbrush and carefully hit the non-lava surface. You can leave a touch of the lava color on the very edges if you want as that can give a bit of OSL feel to it. After the black dries, hit it with a light drybrush of grey. Then, I painted the rim of the base black with an analog paint brush.
9 Steps for a base feels like a lot, but this is fairly easy. It works especially well when painting in large batches.